In the new Schelde Schakels series ‘Behind the Scenes’, Damen Naval Senior Communication Advisor Eefje Koppers highlights various departments and activities of the Damen companies in Vlissingen.
Text: Eefje Koppers / Photos: Mihnea Udrea
For almost my entire professional life, a notepad, a pen and a keyboard were the only tools I needed for my work. As a writer, you don’t need much more than that to bring a story to life. Shipbuilding is quite different, because besides craftsmanship and experience, a great deal of equipment is needed to transform steel plates and other materials into something that resembles HNLMS Den Helder or HNLMS Karel Doorman.
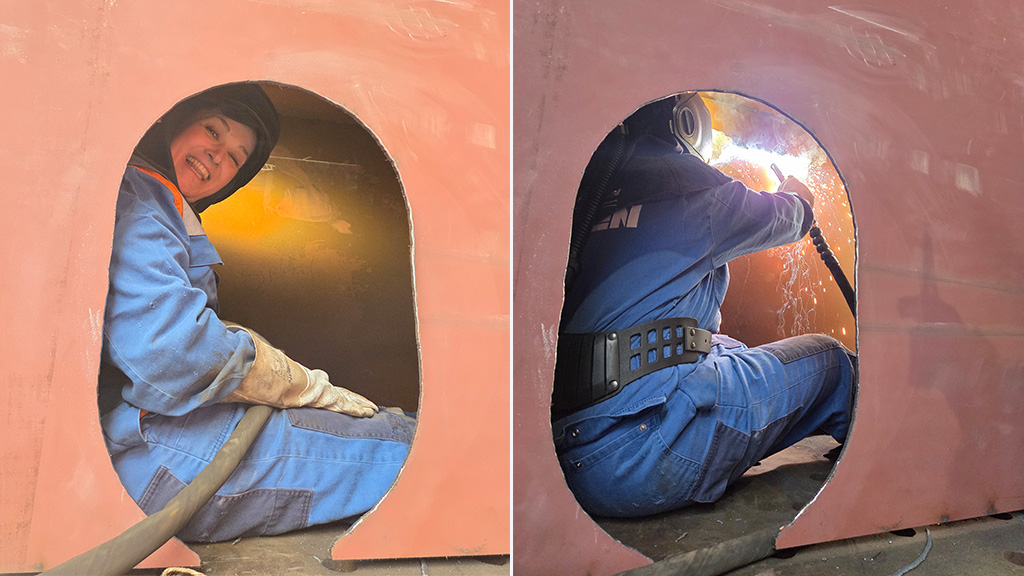 Before and during my very first attempt at welding - in a tiny steel cubicle.
To get a better idea of what goes into the construction of a ship, I became an apprentice at our Production Department. My first experiences came during one of the engineering workshops held earlier this year in Vlissingen-Oost. The purpose of the workshops was to demonstrate that simple changes on paper can sometimes be difficult to implement in practice. Together with three engineers, I got a taste of the various production activities: from cutting and torch cutting to grinding and welding.
My first welding attempt
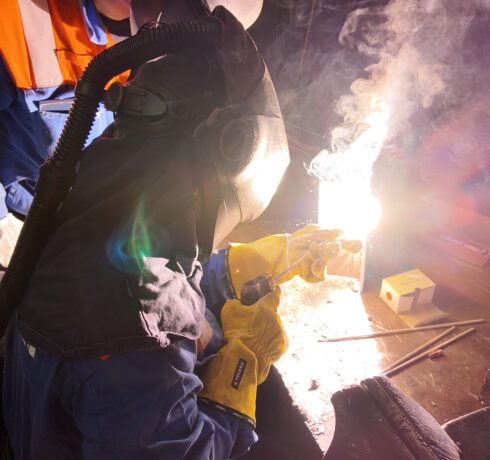
Torch cutting went fairly well for me. Grinding reminded me of working with an orbital sander, only with more sparks. But welding… if I’m honest, my first attempt wasn’t exactly a success. I squeezed myself into a small steel compartment, and there I sat, with only a flashlight for light. I wore a welding hood to protect my hair, a welding helmet with an oxygen tank on my lower back, gloves that were far too big, and a welding machine that was difficult to operate because of them. In that position I had to attach a steel plate to the wall of the compartment – holding the plate with one hand while applying a weld with the other.
No one was more surprised than I was that the steel plate actually stayed in place. Still, it stung a little when one of the production workers shook his head pityingly and said: “one tap with a hammer and it’ll fall off.”
No one was more surprised than I was that the steel plate actually stayed in place. Still, it stung a little when one of the production workers shook his head pityingly and said: “one tap with a hammer and it’ll fall off.” Six increasingly hard hammer taps later, my plate was still hanging there. Even though I have no illusion that this was more luck than skill, it did give me a certain sense of satisfaction.
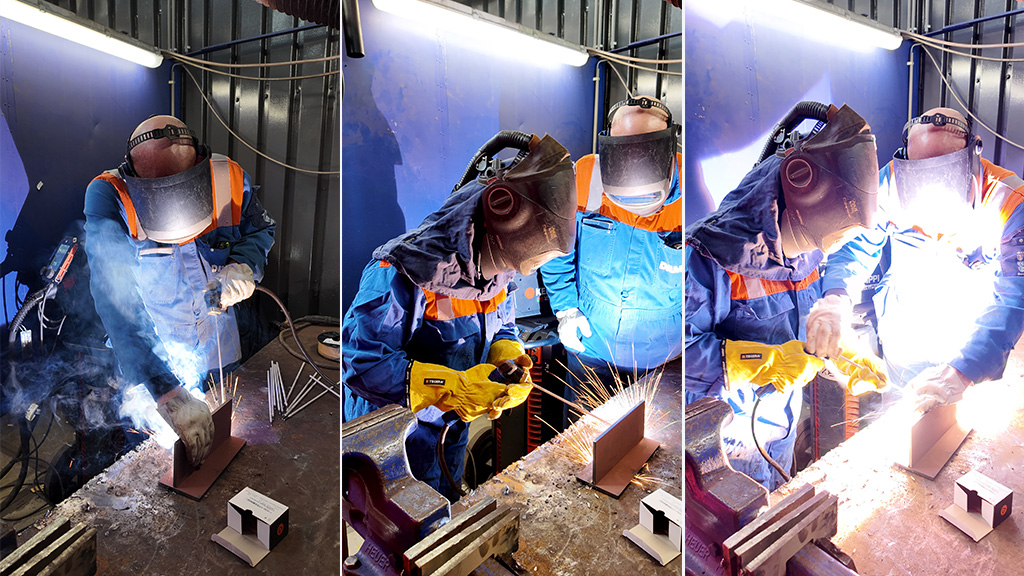
It also gave me the desire for more. So on a Tuesday morning in March, I became an apprentice under Welding Supervisor Leo Dingemanse. He also mentors Scalda students who come to Damen Naval to learn welding through the vocational work/study programme (BBL), so I was in good hands. With great patience, he explained the different welding techniques and showed me what you need to do with your hands and tools to join one piece of steel to another.
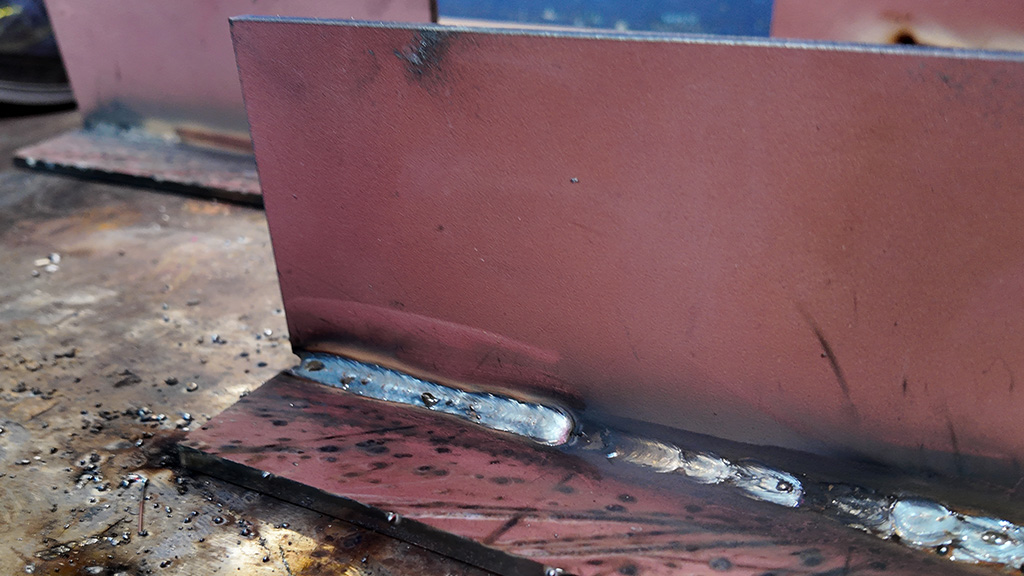
 When MAG welding with a flux-cored wire, the welding torch moves from left to right.
A good teacher
Leo started in 1989 at the company school of what was then the Royal Schelde and has worked at our company since 1991. Although he tried other roles in between – such as security at the yard in Oost and even facilities management at the Head Office – he always returned to welding. Over the past three years, he has been involved in supervising Scalda BBL students and projects such as the Midlife Update of the Johan de Witt and small maintenance projects on, for example, the Holland-class patrol vessels. He is also responsible for WeldEye, a management system in which all employees’ welding certificates are stored and where it is easy to see which certificates are due for renewal. After all, as a welder you must prove every two years that you still master a certain welding technique.
"Producing a truly nice weld is something to be proud of. You know other welders will walk past it and see that it’s a good weld too. That’s fun.” Leo Dingemanse
What he enjoys most about welding is its versatility and the opportunity to keep learning. “When I started at the company school, I had no idea what I wanted to do,” he says. “I chose welding, but I really grew into it. In the past I wasn’t that interested in all the options, but once you start looking into it, you discover what’s actually possible.”
And the possibilities do indeed seem almost endless. There are many different welding methods, different materials that can be joined together such as steel or stainless steel, and different materials and gases that can be added. In addition, there are various types of weld joints: you have fillet welds, butt welds and V-grooves. And we haven’t even talked about the different welding positions, of which flat, horizontal, vertical and overhead are the most common.
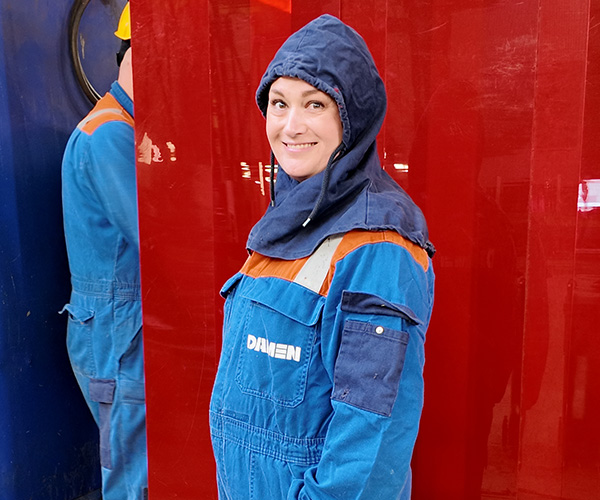 Fully protected and ready to learn.
Leo showed me four variants of the three most commonly used welding methods at Damen Naval. First there is MIG/MAG welding. The difference lies in the gas used: the inert gas Argon for the MIG technique and the active gas CO₂ for MAG. For both variants, you can choose either a solid wire or a flux-cored wire. The second method is electrode welding or arc welding, in which a coated electrode is used as the welding rod. This method is ideal for hard-to-reach places. The third method is TIG welding, where TIG stands for Tungsten Inert Gas. This technique is particularly suitable for precision work and thin materials.
An introduction to MAG welding
We started with MAG welding using a solid wire. This is the technique where, as a welder, you do as little as possible yourself. The wire automatically feeds out of the torch or welding gun when you squeeze the trigger, and as long as you move the gun along the joint in the right way, you can fairly easily join two pieces of steel together. But the art lies not only in joining two pieces of steel, but in joining them correctly. It is not nearly as easy as Leo and his colleagues make it look. And just when I thought I had more or less mastered welding from right to left, I suddenly had to weld from bottom to top. That requires a kind of weaving motion where you essentially “stack” the weld. Something that is much easier to write about than to actually do…
 Not bad for a complete amateur. Even Leo was impressed by the weld on the left.
The confusion increased when we switched to MAG welding with a flux-cored wire, because suddenly you weren’t welding from right to left (if you are right-handed), but from left to right. And from top to bottom. Still, I found this the most logical welding method and the one where I managed to produce a reasonably neat weld. Even Leo was impressed.
Producing a truly nice weld is something to be proud of, Leo explains. “You know other welders will walk past it and see that it’s a good weld too. That’s fun.” But what exactly is a good weld? It is a weld seam without slag or gas pores, and nothing is allowed inside it – no hairline cracks, no craters, nothing. Special tests are carried out to ensure welds meet the required quality. That is not surprising when you realise how many weld seams are needed on board a ship and how important they are as part of the structure.
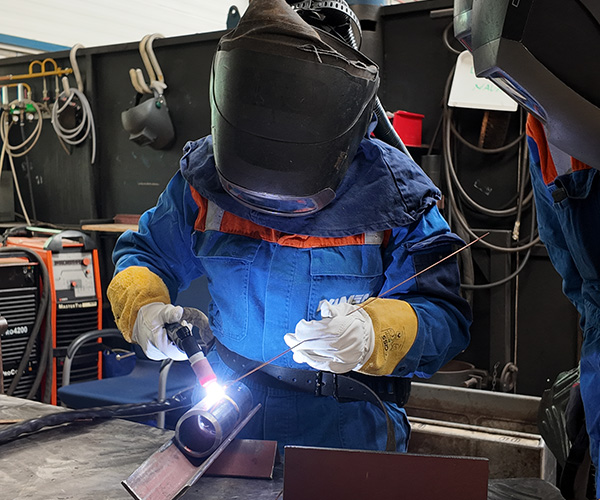
 With great patience, Leo introduced me to the various welding techniques. Here, I’m trying my hand at electrode welding.
The other technique: electrode welding
My euphoria about my first nice weld was short-lived, because the next step was electrode welding, which requires a completely different technique. The coated electrodes are rods that you place in the welding holder, and as the rod melts away, you have to keep moving the welding holder closer and closer to the steel. With MAG welding, the distance between the welding gun and the steel stays the same because the wire automatically feeds out of the torch.
 TIG welding is hard!
And let’s not talk too much about TIG welding, because that is a method for the advanced welder. You hold the torch in one hand and the wire separately in the other, and there is a certain skill in how you move them towards each other. It requires a special kind of coordination and precision that you do not learn in half an hour – but that time was long enough for me to gain respect for the people who do master this technique.
Of course, what I did was the easiest first step in welding. I didn’t have to squeeze myself into the double bottom of a ship to join two pieces of steel together in a space smaller than the average sleeping bag. But thanks to the workshop and Leo’s lessons, I do have a better idea of what the work involves. I am grateful that I was able to experience for myself just how beautiful, how challenging, and how physically demanding production work in general – and welding in particular – really is.
Leo’s final verdict on my welding: “I thought is was quite good for someone who has never welded before. You’ve got a feel for it, and we could make a welder out of you.” Nice words – because it’s always good to have options, isn’t it?